

There are many reasons why you may need tank removal services. Maybe you’re remodeling your home and need to remove an old oil tank. Maybe you’re demolishing the property and need to remove any underground tanks. Whatever the reason, there are a few things you should know about the process of tank removal. Keep reading to learn more.
Prepare for a tank removal service in advance.

When an oil tank ceases to be operable, it is often necessary to have it removed. This may be due to the age of the tank or damage that has rendered it inoperable. The process of having a tank removed can be difficult and dangerous. There are a few things you should do before and after the removal in order to ensure safety and avoid any environmental hazards. Before the removal, make sure that all flammable materials are cleared from around the tank. This includes gasoline cans, propane tanks, and anything else that could create a fire hazard. Also, make sure that there is no standing water near the tank as this could create an explosion hazard.
Locate the oil tank for safe removal.

Locating the tank is the first step in any tank removal project. This can be done through visual inspection or with the help of ground-penetrating radar.
Visual inspection is the most common way to locate a tank. This involves looking for clues on the property, such as an above-ground tank or a vent pipe. If you’re unsure where the tank is and don’t own the property yourself, you can also ask the property owner for help.
Ground-penetrating radar (GPR) is a non-invasive tool that can be used to locate tanks. This technology sends a signal into the ground and then measures the reflections to create a map of the subsurface. GPR is useful for locating tanks that are buried or hidden underground.
Once the oil tank has been safely located, the tank removal process can continue.
Release the gas from the tank.
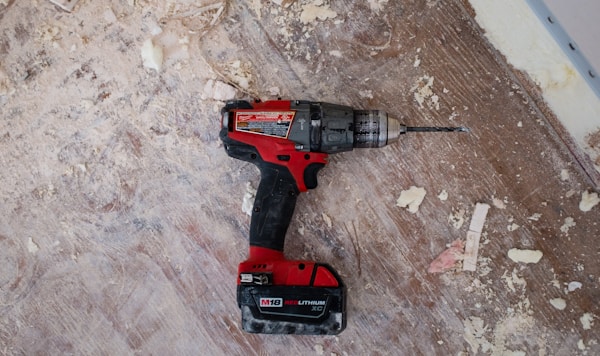
The process of releasing gas from an oil tank is not a difficult one, but it’s crucial to avoid any injuries or environmental damage. First, a hole is drilled in the top of the tank so that the gas inside can escape safely. It’s important to take into account the wind direction when drilling the hole, in order to avoid any fumes being blown into unaccounted areas. The cap is then removed from the top of the tank to allow for further release of gas. Once the hole has been drilled and the cap removed, the tank should be allowed to vent for a few minutes to allow any gas to escape.
Pump out the contents of the oil tank.
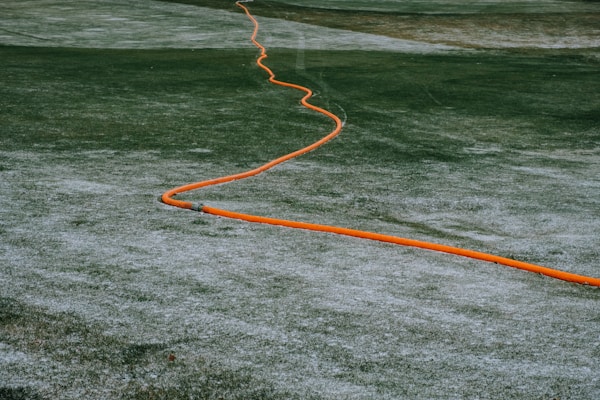
The oil tank is pumped out using specialized equipment. This may include vacuums, pumps, or hoses. The equipment is used to remove the oil from the tank and pump it into a storage container or another tank. This process helps to ensure that the oil is removed from the tank and disposed of properly so that it doesn’t leak into the environment and cause damage.
Remove the physical oil tank.
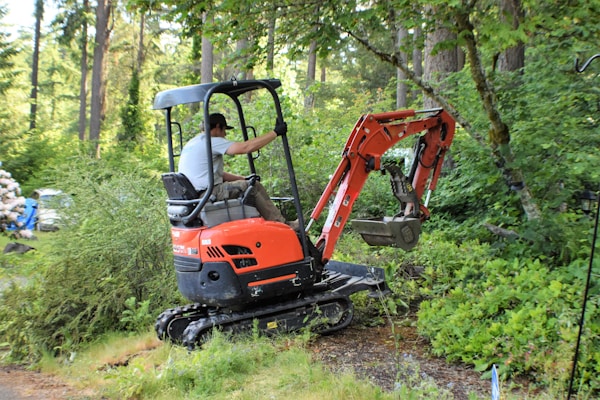
The last step of removing an oil tank is actually excavating it from the site. Oil tanks can be a potential environmental hazard if they are not handled properly. That is why it is important to take the necessary precautions when excavating an oil tank, such as workers wearing personal protective equipment (PPE), digging slowly, and ensuring the tank is fully out of service. Once the tank is excavated, it can be removed from the site. The removal process should be done slowly and carefully to avoid damage to the tank.
Replace your tank or upgrade your system.
With the oil tank removed, you can replace your old tank or upgrade to a newer system. Now that you know how this process works, you can know what to expect and prepare accordingly.


